Showing posts with label embossing. Show all posts

Wednesday, July 3, 2013

My Newest Toy


I preordered this little gadget back in February, and the company had delays in getting it out to vendors, but it finally arrived a couple of weeks ago, and I love it!  I've made plenty of envelopes with my score board, but this is so much easier, and the end result is perfect and professional looking.
I got mine at Marcos Paper, and I believe they still have it in stock.  (And no, I have no affiliation with We R Memory Keepers or Marcos Paper; I just love a good gadget).

One of my online groups is having a mail art swap, and judging from the sign up page, it looks like I'll have at least 20 pieces of mail art to get out.  This is where the envelope punch board comes in.  Like most of you, I suspect, I have piles of unused backgrounds I've made.....experiments, extras, even some journal pages I don't mind giving up.  I've been busy turning them into envelopes, and with very few additions (some stenciling or stamping or bits of washi tape) they are ready to go postal as mail art.

Here are just a few.  What do you think?

I used some of my favorite Wendy Vecchi stencils on these next few.  I dabbed Ranger's Embossing Dabber right through the stencil, lifted it off, then sprinkled embossing powder over the image.


These were made from gelli plate prints on deli wrap or old music paper (reinforced by pasting the prints on cardstock), and more Wendy stencils:
 
 
 This one, done on an old piece of sheet music needed reinforcing on the folds, so I used tape for that:


Wendy's Mail Art stamp set is perfect for this project, and I'll be using elements from it on all my envelopes.   Here's an example.  (I also used the dandelion from her Botanical Art set.)


This one features a great stencil designed by Ronda Palazzari for The Crafters Workshop:


I love the stencil of people holding hands; I've had it for ages and use it a lot.  It's from Retro Cafe Art.


If you happen to use paper that has art on both sides, you wind up with an envelope that is decorated inside and out:


I have a few more to go, and will probably add to some of these, but I've made a good start.
Oh, and by the way, the Envelope Punch Board makes MANY sizes, from the smallest gift card size to one that will hold a 6x8 1/2" card.


Friday, May 17, 2013

Ornate Doors and Gates

That is the theme Pam chose for her book in the round robin happening in the Kindred Souls group.  The book itself is a masterpiece of creativity and paper engineering.  So much so, that each artist receiving it reported being at least a little intimidated.  Yep, me too.  We all wanted our pages to be as wonderful as the book Pam created.  So far, I think we've succeeded.  Just hope Pam agrees. :)

For this project, we are only doing one page, with our information and minor decoration on the back.
Here we go:


The image of the door comes from Graphics Fairy, a great site for free images, mostly vintage.  It was printed on plain copy paper, glued to cardboard, and enhanced with some ink, embossing powder, and a little metal on the top of the arch.  It is attached to the base with a combination of adhesive and brads, and it's a pretty strong connection.


The background is just a decorative napkin.  Some floral stamps were used to add some flowers from the background onto the door, and then a few very small Prima flowers with dots of stickles in the center finished that off.


The door does open.  I used one of those little photo tabs to hold it closed.


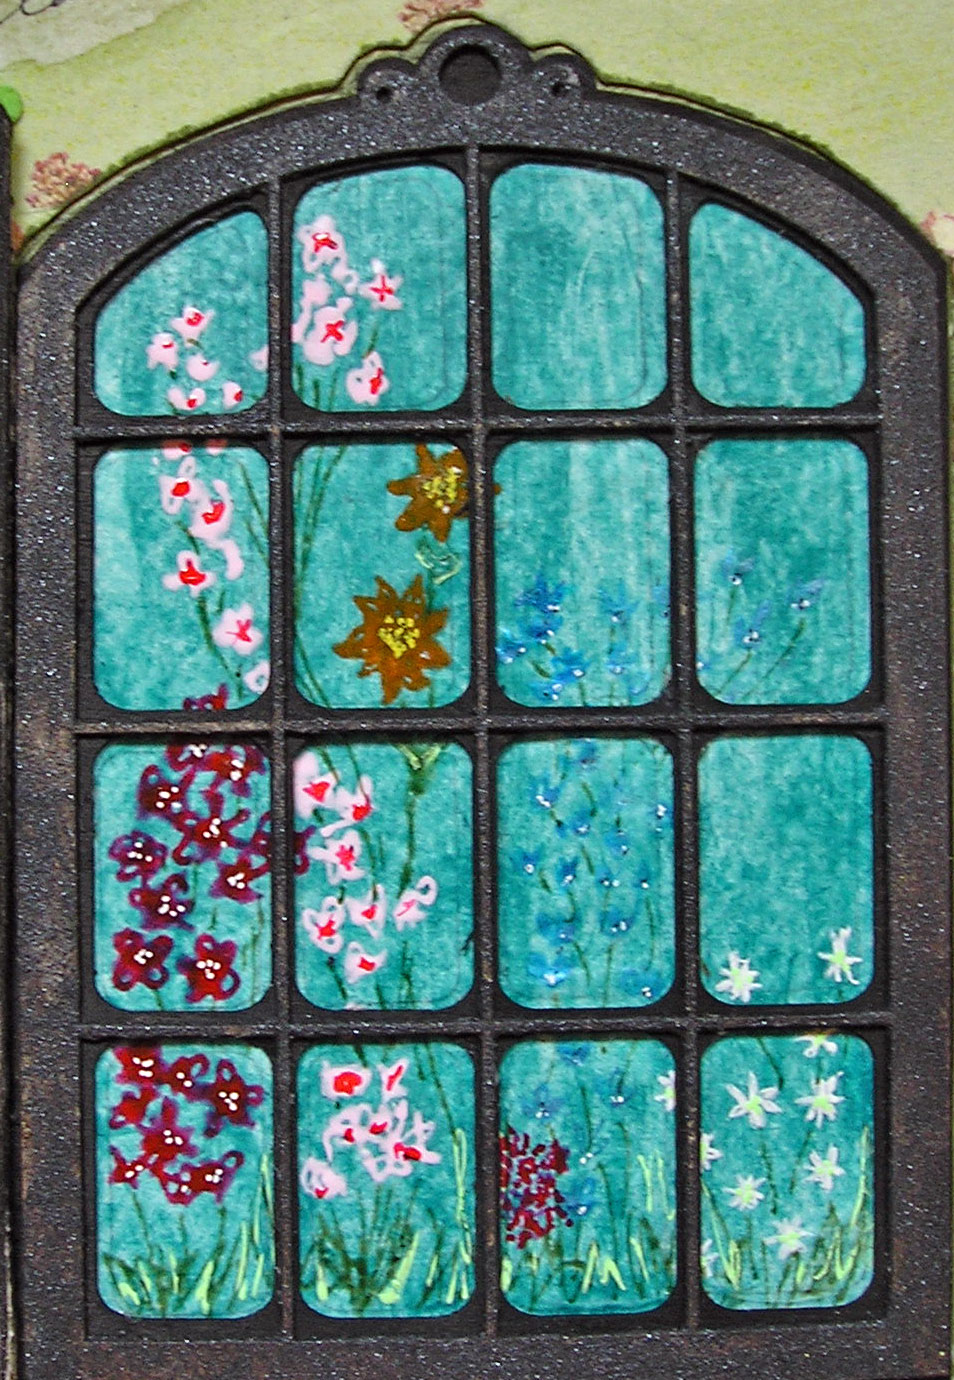
So, what lies beyond this garden door?  Why, a garden gate to a secret garden, that's what.


This door/gate is made of thin wood, but I covered it with micaceous iron oxide paint so it looks like old metal. I don't have the packaging it came in, so am not 100% sure of its origin, but I THINK I found it at Navel Jelly.   My apologies if I'm wrong.  So hard to keep track of all the supplies, you know.  The garden beyond is paint on deli paper;  the flowers were "painted" with both glaze and souffle pens.
 
Onto the back:


The background is some decorative paper from Stampin' Up that I've had for ages.  I stamped the LaBlanche garden gate stamp right over the text.  The little girl is another great image from Graphics Fairy, and I gave her some extra flowers to hold.  My personal information will go on this page.


Wednesday, April 10, 2013

This and That

This is what I've been up to lately.  I was too tired yesterday to blog, so I posted some of these on FB.  But, there is something new here.  :)

One of the many gifts from Elena at Keys4Art was the complete collection of Julie Nutting's whimsical doll stamps.  Even a confirmed old anti-cutenik like me finds them irresistible.  I used them on a tag and a card.


Stamped on Ranger's Specialty Paper, colored with distress markers, doodled on with glaze pens and souffle pens, and cut out.  The conversation bubbles were traced and cut from a template of various sized and shaped bubbles I've had for years.  The words are all bits of two different (and very old) Stampin' Up stamps.


The tag (from Prima's tag book, the perfect size for Julie's stamps) was inked a bit.  Instead of coloring all of this doll, I stamped the clothing (and headband) on various papers from Jenni Bowlin mini paper pads, cut them out and attached them to the doll.  I added the bouquet of flowers and the two flowers in her hair.  The sentiments are also old Stampin' Up stamps.
 
The challenge at Everything Wendy Vecchi was to use distress embossing powder and at least one of Wendy's stamps.  I did that and then some on a journal page.


The two striped flowers are Wendy's stencil, filled with her gold embossing paste.  The third flower is from Stencil Girl, and that was embossed with broken china embossing powder.  More distress embossing on the leaves, and the rest is stamping.....Wendy's and even a few I've cut myself.
 
Remember my polymer clay mouse from last weekend?  The oil paint we used finally dried enough for me to add some embellishments.  Striped stockings, polka dotted sleeves, and some pretty shocking shoes.  And you can't see it, but....I filled her crown with gold micro beads.  As befits a royal mouse.


I received another book in the Kindred Souls round robin.  This one is Deb's, and her theme is "vintage feminine."  I used one of my favorite images.


By using both Tim's regular sized and mini cabinet card die as an insert, I was able to create the frame, which was embossed with Cuttlebug's vintage wallpaper folder.  It was cut from a piece of Ranger's foil tape sheet, and altered with a mix of Ranger/Vintaj patinas and distress paints.
 
The flourishes on the left are not stamps....they're Tim's rub-ons.  The flowers (sprayed with perfect pearls mists) are Primas, and the stick pins were made by my friend Carla.....she gifted everyone with a set of them at Keys4Art.  The pearls and lace are from my stash.
 
So, I'm caught up again.....just waiting for the next journal delivery.


Tuesday, March 26, 2013

Eclectic Vintage Gentlemen

The title refers to the theme of Stephen's book in the Kindred Souls round robin.  NOT to my social life.  The book was waiting for me when I returned home from Key Largo, and in between posting about the retreat, I worked on my page for him.

The pages that were already done were so interesting and different (eclectic is the right word!).  I had an idea of what I wanted to do, and for a change it didn't take me too long to figure out how to accomplish it.  I wanted a steampunk feel and a bit of humor.  Oh, and it had to be easy to look at too.

So, here are the brothers Boeing, imaginary founders of Boeing aircraft, in the early days of air travel.


The background started with paper from Graphic 45's Steampunk Debutante line.  I liked all the hot air balloons on it, but the paper was very dark.  I lightened it up by scraping some Ranger picket fence distress paint over it with an old credit  card.  It was then light enough to add some stamping, stenciling, paint splattering, embossing, and so on.

The three gents are from a Tim Holtz stamp (embossed with walnut stain distress embossing powder). I did have to cut them apart and squish them together again to fit them into the basket.  Also from Tim is the compass (embossed with black powder), as well as the small images on the bottom right and the two balloons on the upper left. (All from the new Tiny Things stamp set).
The balloon carrying the brothers off is from Oxford Impressions, stamped on glossy paper, embossed with black powder, and colored with a variety of alcohol inks.  There are also some other balloons from Oxford Impressions, but I'm not sure if you can see them.  Both the balloon and basket are raised up off the page; the basket with pop dots and the balloon with a wiggly springy thingy.  It bobbles when you touch it!


The metal scallop border is by 7 Gypsies.  The balloon's basket is from me.  I just cut a shape, covered it with some scraps from my gelli plate print pile, and added some gold embossing.  The ticket on the top is also one of Tim's stamps.  Oh, and there is a tiny compass glued to the center of the compass stamp.  There are also two air travel related charms dangling from the page that you can't see much of in the photo.

The back of the page in this round robin is supposed to be finished, not highly decorated, and contain our information.  On the page Stephen did, he put Laurel and Hardy on the back, and everyone who followed did the same.  Who am I to argue with success?  I found an image from a film in which the funny men flew a plane.  Perfect!  And you can still see most of the Graphic 45 paper I used underneath.


If Stephen likes this even half as much as I enjoyed making it, I'll be satisfied.


Monday, March 25, 2013

Keys4Art 2013, Part III

MORE PROJECTS
 
 
Daisy showed us a lovely technique using alcohol inks.  A picture was stamped on glossy paper and heat embossed with black powder.  This created "wells" that allowed us to paint with the inks without them straying into other areas. 
 
This one I will probably use on a card or an art journal page.
 

These two I put directly into the little journal we worked on at the retreat.  More about that soon.
 
 
Jacquie taught a quick lesson on using plaster embedded gauze to create wonderful textures.  We made journal covers.  Some of my very industrious friends actually used them and made wonderful journals with exposed spine bindings.  Me, I just have these two covers.  Someday....
 
 
ROAD TRIP
 
One afternoon we took a break and drove south to Islamorada, where the Lazy Days restaurant is located.  Last year we stopped there on our way back from Key West, and I ate the best lobster sandwich I've ever had.  I have been thinking about it for a year, so we took a road trip to get it again. And I wasn't disappointed.  One of the best sandwiches of any kind I've ever had.


On the way back from lunch we couldn't help but notice this rather large crustacean, drawing people into a mall of both touristy crap and very beautiful pieces made by local artists.


And I couldn't help but notice that there was something odd  unusual  sexual  interesting (?) about this tree trunk.


Poor Teri; she didn't have a clue what was happening on the other side of the tree, but we talked her into this pose. 


And mind you, sticking out her tongue was all her idea.  I swear.
 
 
BACK AT THE HOUSE


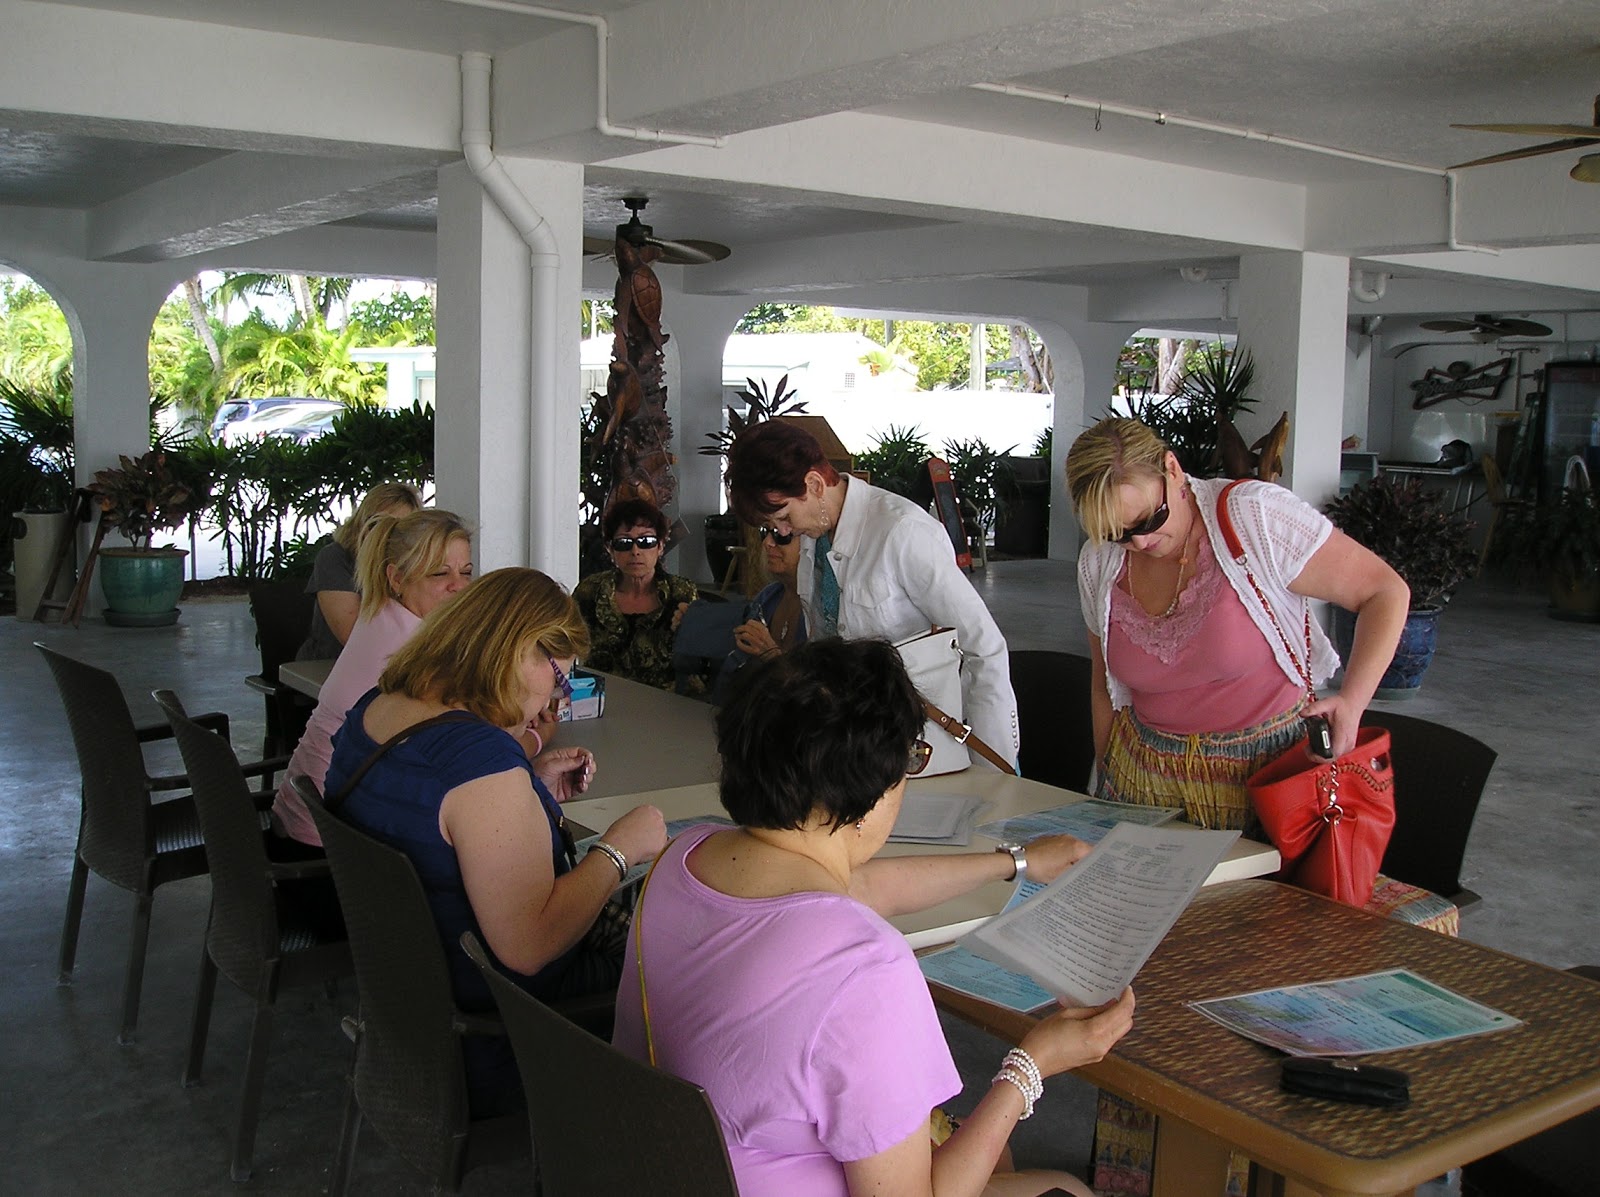
One of the gifts we received from Elena wss a smallish Maya Road chipboard album, and in between classes and mojitos (a big shout out to both Jen and Karen who were always ready to mix us up some cocktails) we worked on the album.  In fact, mine was nearly finished; all I had to do when I got home was add some photos.
 
See how great the key from the pillow fairies looks on the front cover! (Fleur de lis stencil is one of my favorites, by Michelle Ward for Stencil Girl).
 
 
The Hebrew lettering stencil on the back cover is also a Stencil Girl product.


This is the inside front cover.  Some gelli plate prints, pieces of a decorative napkin, and a Dyan Reaveley stencil.


The last gift the pillow fairies left was a decorated letter sized envelope.  I deconstructed, then reconstructed it to fit on the inside back cover, and it now holds all the small memorabilia that I didn't have room for within the journal.
 
 
Here it is, Keys4Art 2013 in a nutshell.


I think I have enough random pix to warrant a fourth installment.  Stay tuned.....