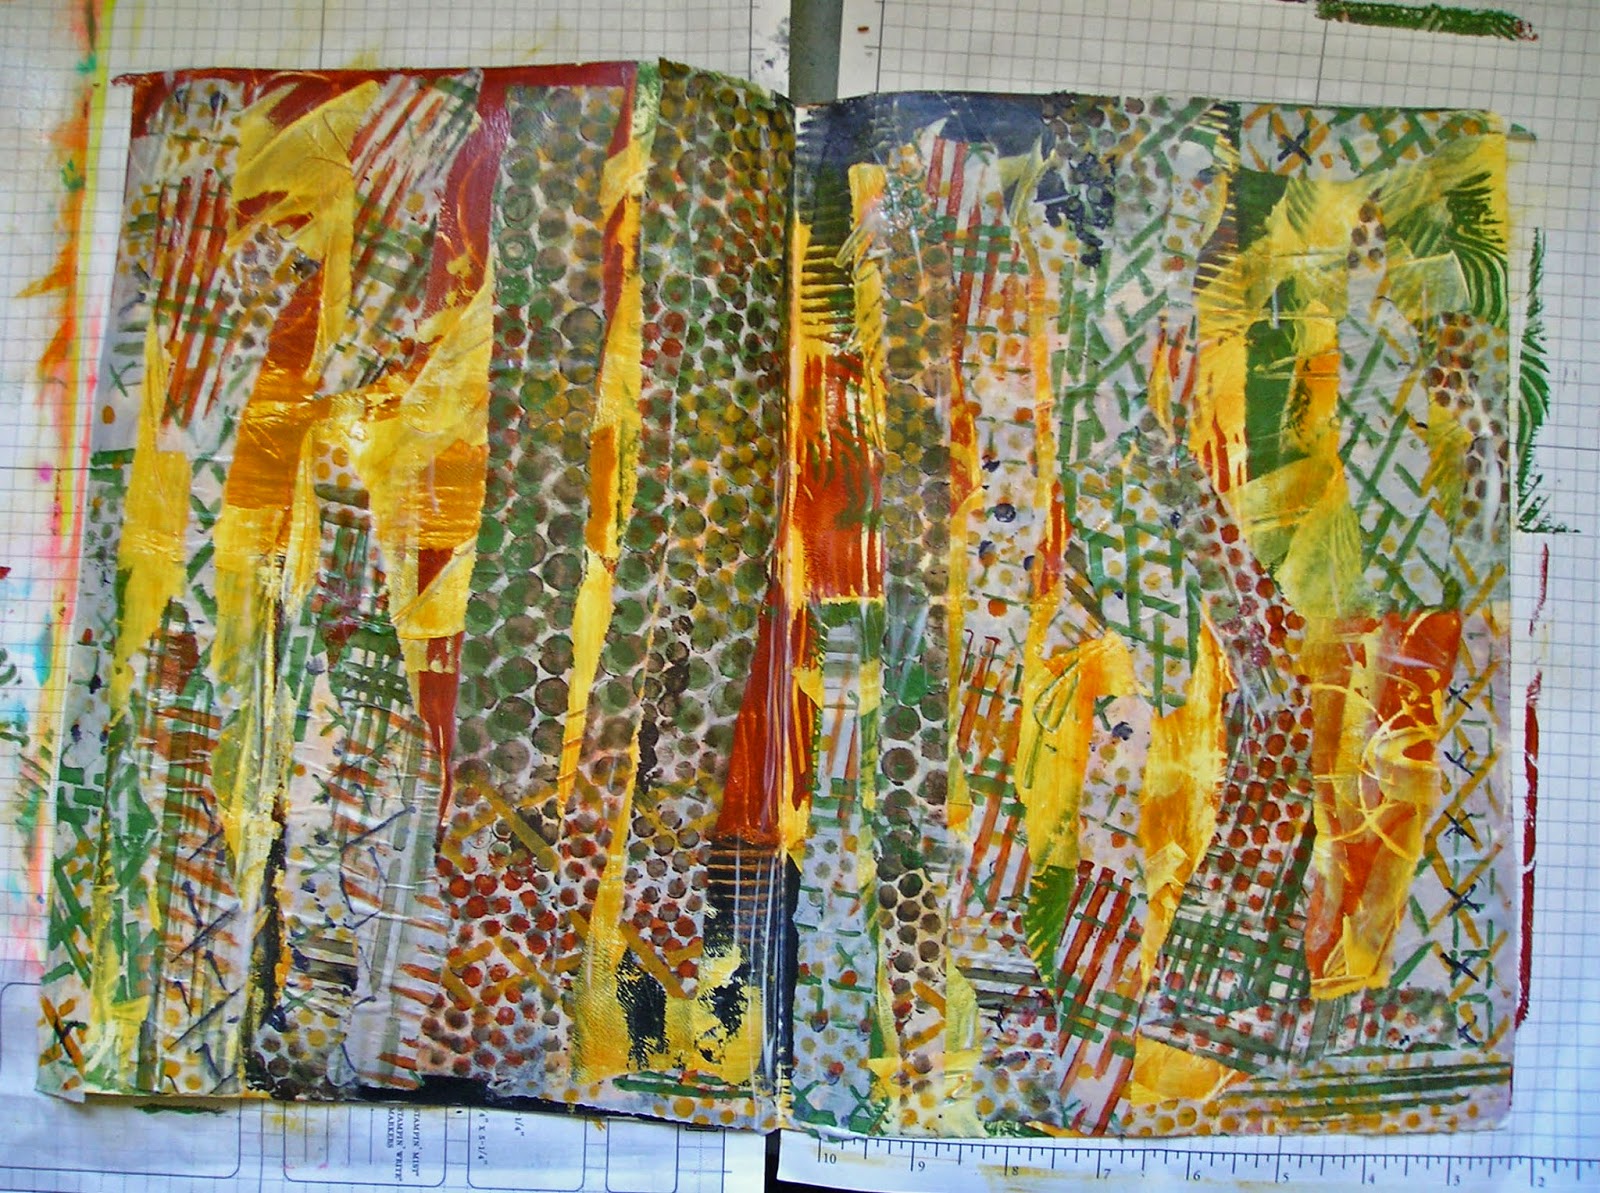
Showing posts with label The Documented Life Project. Show all posts

Tuesday, March 10, 2015

DLP 2015, Week 10 -- Make Your Mark

The Documented Life Project
March Theme
Making Your Mark (Doodles & Mark Making)
March 7
Art Challenge:  As A Layer Element
Journal Prompt:  Surviving the Elements

It seems to me that everything I put on paper is a mark, so I just went out of my way to include as many mark making techniques as I could think of.

First mark, paint. Fluid acrylics, to be exact, plopped on the paper and then quickly spread out with a baby wipe. (Learned that technique from Dyan Reaveley, and I love it. What a time saver!)


Next, some drips and splatters of watered down paint, followed by scribbling (more on that in a sec).


For the scribbling, I mixed equal parts of black fluid acrylic paint and airbrush medium, and used this handy little tool.


At this point I got too into the adding of marks and stopped taking photos at each step. Some of the things I used: Portfolio oil pastels, stencils with ink and with paint and also with embossing paste, rubber stamps, bubble wrap, pencils, markers, mica powders.....like I said, just about everything. And that was just on the background.

I also dug out my never ending supply of gelli print scraps, went to the sewing machine, and sewed some wonky flower and leaf shapes. These I cut out, in addition to some minus the stitches. And this crazy garden was born.


The journal prompt is "surviving the elements," and all I could think of is how cold and snowy this winter was, and how looking forward to seeing a flower instead of a snowdrift I am. 

Here are some closer looks. And if they aren't close enough, just click on them. Hopefully, enlarging them won't result in a blurry mess, which has been known to happen.


This was fun for me, because it's not really typical of what I normally do, and the colors are certainly brighter than my usual choices. Which means I operated at least a bit out of my comfort zone, and that's the whole point of these challenges, isn't it? 


Friday, March 6, 2015

DLP 2015 -- Week 9 -- Gimme 5!

The Documented Life Project
February Theme: Layers You Will Love
Week 9 Art Challenge: Use at least 5 layers
Week 9 Prompt: Give Me High Five

I started with this mess of a collage -- random torn and cut scraps from various gelli prints.


I'm thinking this probably counts as five layers already, since each and every scrap had several layers, and the scraps overlapped. But no worries, I added plenty more. Stencils, sprays, embossing paste, crackle paste, ink, paint, and even a few rub-ons for good measure. This piece is all about the texture.


My nod to the prompt was a scattering of 5s and a few hands (hands, high fivc, get it?). Truth be told, layering is something that happens in everything I do, so I'm looking forward to the new theme for March. March? Is it really March? There's half a foot of fresh snow on the ground. March. Seriously.

Sunday, February 22, 2015

DLP 2015, Week 8 -- It's Worth Repeating

The Documented Life Project, February Theme: Layers You Will Love
Week 8 Art Challenge: Repeating Elements   Journal Prompt: It's Worth Repeating

I love patterns; I repeat design elements all the time. Mainly circles. So I decided to go a bit rectangular this week.

First, I dug out some of my favorite handmade stamps.


Some were carved on regular stamp carving material, three were carved on a pink eraser, one was carved on a wine cork, and one was cut, not carved from adhesive backed fun foam, and stuck to a piece of plastic. Nothing high tech here!

Then I took a piece of rice paper, large enough to cover my two page spread, and lightly penciled in a grid of differently sized squares and rectangles. I stamped different combinations of the above with a permanent black ink, let it dry, and then filled in each segement with color. This is what I used.


I generally (and this time) use the blocks like watercolors. I leave them in the box and just wet them with a brush. I like them because the colors are vivid and when dry, permanent. The rice paper is thin, but sturdy, and when it was completely dry I cut up the segments. I then arranged them in my journal, adhering them with matte medium. Last step.....adding another repeating pattern, dots. Lots and lots of dots.


So, I have a few repeats going on here: the grids, the stamps, the colors, and the dots. As for the journal prompt, what is worth repeating is the word BE. It's good to just be. Be happy. Be kind. Let it be. Just BE.


Wednesday, February 18, 2015

DLP 2015 Week 7 -- The Big Coverup

This is what we were given to work with this week by the good folks at The Documented Life Project:

February Theme
Layers You Will Love!
February 14
Art Challenge:  Cover Up Good Stuff
Journal Prompt:  Going Undercover


There was a lot of chatter on the DLP FB page about this. I think for a lot of people, especially the beginners, the thought of creating something "nice," and then obliterating it was nightmareish. I am much more a process person than a product oriented one, so I don't mind. Besides, I do look at this as a useful exercise in not taking myself too seriously, and not regarding my art as "precious." As I used to tell my second graders, "it's only paper!" And some very talented artists, like Anne Bagby, Flora Bowley, and Tracey Verdugo have offered up the same philosophy. Sometimes a cover-up is a good thing.

And now, how this:

Became something else all together.  First of all, I used my 6x6 Gelli Plate as a stamp to create the patterns.


And these are the high tech tools I used for the patterns:


Then I used a bunch of stencils on a sheet of deli wrap, and set it aside for a moment.


Back to my journal. I scraped some random blobs of heavy duty gesso over the pages with a palette knife. Cover-up number 1.


I liked the texture, but not the stark whiteness, so I covered the whole thing with a mixture of paint and matte medium (which forms a glaze).


Remember that sheet of deli wrap? I tore it into strips and started covering the page, again.


Not loving it, but I thought some more glaze would make it less busy. And some numbers with embossing paste. And some paint scraped on with an old credit card. And.....several other things I didn't stop to photograph.


At this point I was describing it as a "hot mess," and seriously doubted I could either a) make it worse or 
b) make it better. As they say, it is what it is. So, I walked away for a day, and when I returned I decided it needed to be a cityscape.


There were many steps along the way where I could have stopped. Maybe the end result would have been better, maybe not. But it wouldn't have been this, and I wouldn't have learned anything if I stopped at a safer point. I don't suggest that every project should be approached with the "cover up the nice" attitude, but I think you can learn a lot and free yourself if you try it from time to time. And BTW, the triangular rooftops were cut from the scrap paper I was using as a palette. 


Sunday, February 8, 2015

DLP 2015 Weeks 4-6

I've been knocked out for the past two weeks with either a killer cold or the flu (I hope not the latter, since I did endure a flu shot), and finally started feeling well enough to sit up and attempt a blog post. Here are the last three Documented Life Project challenges.

Week 4 Continuing the January theme of Facing The Blank Page
             Art Challenge: Writing
             Journal Prompt: Words With Friends

As often happens, I started out with a "brainstorm" that went nowhere, but wound up happy with what evolved.


The background is a repeat of one of my own carved stamps over metallic paint. The borders are a stencil, highlighted with more stenciling in gold paint. The silhouettes are also stencils. The quote is a variation of one by none other than Aristotle. Hey, aim large.


Week 5 (Still in January)
              Art Challenge: Use under paper (you know, the paper under your work that collects drips, blobs, wipes, etc.)
              Journal Prompt: What Lies Beneath


The curvy borders and the thin rectangles forming the rays are my under papers. What lies beneath them: more layers. Paint, ink, stamping, stenciling, even a few transluscent stickers I found lying around.


February Theme: Layers You Will Love
Week 6 Art Challenge: When Not To Stop
             Journal Prompt: "Don't Stop Til You Get Enough!" (ooh)

This challenge was not really a challenge for me, though I totally enjoyed doing it. I am all about layering, and can (and often do) add them without a thought.

It did, however, give me the chance to finally play with the 8" round Gelli plate I bought ages ago. I have no idea why I bought it, besides that it is adorable. There is nothing I can think of doing with it that I can't also do with the plates I already had. But the round prints that emerged did give me an idea. I cut lots of rings from the circlular prints, cut them into segments and then reassembled them on the pages. (BTW, all the prints were pulled on deli wrap).


My layers, more or less in order: Gelli prints, stenciling over the prints, splattering, doodling with pens, outlining with paint, spreading gold embossing paste over a stencil, stamping with one of my own carved stamps.


This is the palette I used.


These are some of the stencils I used both in the Gelli printing and then on the finished prints.


As you can see, I'm not very obsessive about cleaning my stencils.

Some of the paint I used seemed to dry very quickly, and I was left with some on the plate that refused to come off. An easy fix is to lift the dry paint off with tape. As an added bonus, the tape can be used as an embellishement.


After removing the dry paint with the tape (I used clear packing tape), brush some Perfect Pearls on the sticky side. It will cling to any part of the tape not covered by the paint, and it is beautiful. I cut circles out of one of the strips and that is what I used in the centers of my reconstructed circles.


Did I have enough when I stopped? I'm not sure. Maybe another layer or two are in my future.


Monday, January 19, 2015

DLP 2015 Weeks 2 and 3

I returned last week from a wonderful mini vacation in South Florida (more on that another time), so had some Documented Life to catch up on. Week 2 (still dealing with the overall January theme of facing the blank page) was using gesso, with a prompt of "the beginning is always today."


The gesso I used is colored, from an Australian company, Derivan Matisse. The figure was done by scraping light olive green through a stencil. Once dry, I repositioned the stencil over top and used paint and two other stencils right over the gesso. By the way, they call it "background paint," but the small print clearly identifies it as gesso.

The other area I used this product was on the cornflowers (close-up below). This time, I applied terracotta on silhouette stamps. Caution: when you use gesso with your stencils and stamps, please wash it off immediately after use. Wet gesso comes off easily; dry, not so much.


Week 3 is all about the color wheel, and the prompt is a Georgia O'Keefe quote, which you will see clearly on my pages. First step, to get a whole bunch of color onto my pages. For this I used stencils, lots and lots of stencils. I just kept layering them, using colors, sometimes going dark over light, sometimes the other way around, which resulted in this riot of color.


Now comes the part where a little bravery (and faith in the technique) might help. I learned this in a workshop with Anne Bagby. After spending the better part of a day creating bold and beautiful designs, we used a mask and covered all but a part with dark paint. For this spread, I used clear embossing ink on some solid stamps, then heat set clear embossing powder. The embossed areas resist the next layer.....in this case, black paint. There is a lot of glare on the photo, so it looks grayish, but trust me, it is very very black. After the application, the paint wiped off the embossed areas easily with a barely damp paper towel.


Last step, adding the quote, which I did with some of my favorite pens for writing over dark paint: Sharpie poster paint water based paint markers, Molotow high-solid paint markers, and Posca paint markers.


I wish I could have taken a better picture, minus the glare (I tried many times), because the bright colors against the very dark background just pop so beautifully, but you get the idea.

As always, looking forward to the next challenge. Thank you, Art to the 5th ladies!


Sunday, January 4, 2015

The Documented Life Project, 2015

Yes, I'm still alive. Now that we got that out of the way, I am looking forward to more art, possibly even more blogging, and in general, a more purposeful life in 2015. I'll let you know how that goes.

For 2015 the DLP group suggested using Dyan Reaveley's Dylusions journal (the large one). I have used it, like it a lot, so bought a new one and did the cover ages ago.


Stencils. Lots and lots of stencils. I only have about a million, so really should use them more often.

Each month has a theme, and each week, within that theme will be a technique and a prompt. I'm liking this process a lot. And it works well for beginners and old pros as well.

January theme: facing the blank page.
Week one technique: using book pages
Week one prompt: be your own goalkeeper


I tore up a variety of book pages for my collage and covered them with a wash of blue and green acrylics. Most everything else on the spread was done with stencils and masks. The joyful figure is a Sue Pelletiere stencil, and the sentiment is from a Jessica Sporn stencil. On the facing page, the words (my three words for the year) were traced from a Tim Holtz alphabet stencil and filled in with a black marker. The cornflowers are masks from a Michelle Ward stencil. I laid them over the painted page and then sprayed over everything with a darker blue spray. I still have one or two sprays that haven't completely clogged up, so I'm using them as fast as I can.


Monday, September 1, 2014

A Documented Life -- What's Black and White?

The latest prompt in The Documented Life Project, that's what. And it coincided with the very happy rediscovery of my favorite hand carved stamps that went missing sometime in April.


They are very simple,  but can be used in so many ways, singly or in combination, depending on their orientation.


I stamped several sheets of white paper, using an india ink stamp pad, then cut the pages into 1" strips.


The strips were then cut into 1" squares.


I played around with their placement, and finally settled on the above design.


The silhouette was done with a Dyan Reaveley stencil (by Ranger) in black acrylic paint. One of the things I like most about silhouette stencils, as opposed to stamps,  is that you can use it on either side, so your silhouette can face in the direction you want.


I finished it off with an outline of white machine stitching. I'm toying with the idea of adding one pop of color, maybe a red hat, but haven't made up my mind.